
Have you ever wanted to learn magic? Well in this fun tutorial, you are going to learn how to make a sketch burn alive with fire! Learn how to create this cool fire effect using Adobe Photoshop’s powerful editing tools, layer blending, and color adjustments. This tutorial was sent in by Annabelle at 123rf, along with several others we’ll be presenting in the week to come.
![]() Have you ever wanted to learn magic? Well in this fun tutorial, you are going to learn how to make a sketch burn alive with fire! Learn how to create this cool fire effect using Adobe Photoshop’s powerful editing tools, layer blending, and color adjustments. This tutorial was sent in by Annabelle at 123rf, along with several others we’ll be presenting in the week to come.
Have you ever wanted to learn magic? Well in this fun tutorial, you are going to learn how to make a sketch burn alive with fire! Learn how to create this cool fire effect using Adobe Photoshop’s powerful editing tools, layer blending, and color adjustments. This tutorial was sent in by Annabelle at 123rf, along with several others we’ll be presenting in the week to come.
Annabelle writes :
![]() This tutorial will be using Adobe Photoshop, and is intended for Beginners. It will take about an hour and for training and testing purposes, you should have some reference and source files. Just for practice, find these online, or you may purchase the actual files at 123rf.com:
This tutorial will be using Adobe Photoshop, and is intended for Beginners. It will take about an hour and for training and testing purposes, you should have some reference and source files. Just for practice, find these online, or you may purchase the actual files at 123rf.com:
- Stock Photo – notebook on wood background (or 123rf),
- Stock Photo – Electric guitar on the white (or 123rf)
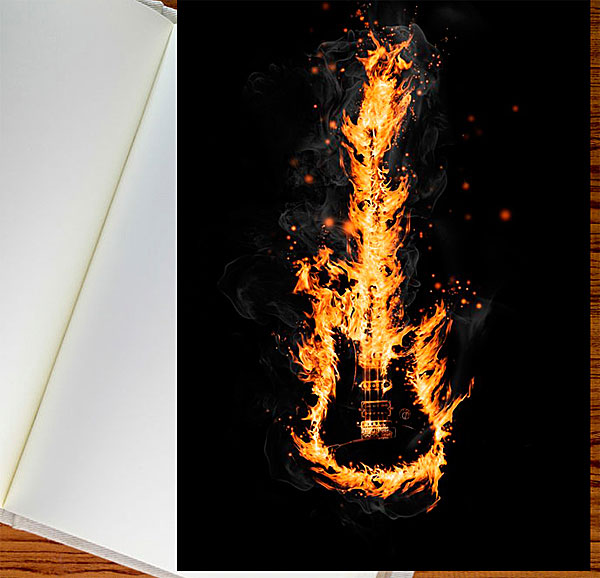
- Stock Photo – Fire guitar (or 123rf)
- Stock Photo – High resolution fire collection isolated on black background (or 123rf)
Creating The Sketch Effect
Step 1 Open all your references in Photoshop. Copy and Paste the fire guitar on top of the sketchbook.
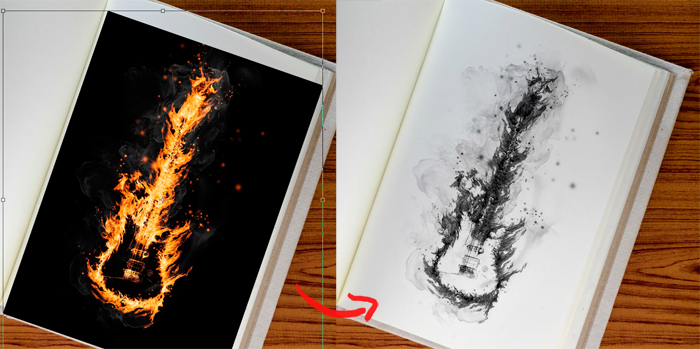
Step 2
Control + T to Resize and Rotate the fire guitar so that it fits better on the sketchbook, then set the layer to Difference.
Go to Image > Adjustments > Hue/Saturation and bring down the Saturation to -100 so that the image is now in grayscale.
See, it’s already looking like a real sketch!
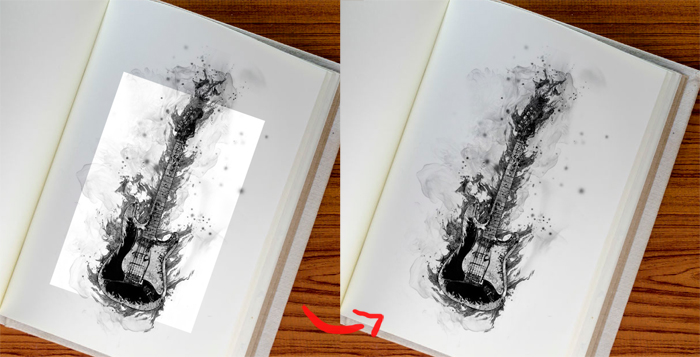
Inserting the Guitar : Step 3
Copy and Paste the electric guitar onto a new layer and drag the layer so that it is beneath the fire guitar.
Set the layer to Darken to in order to eliminate the white background. Just like our previous step, go to
Image > Adjustments> Hue/Saturation
and bring down the Saturation to -100 so that the image is in grayscale.
Now the sketch looks even more like a guitar.
NEXT: Create the fire and finish your magic
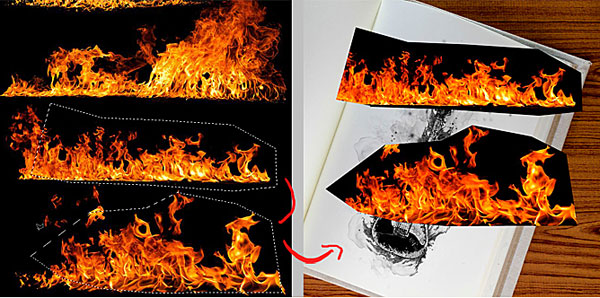
Creating The Fire – Step 4
Use the Lasso Tool (L) to select pieces of fire from the fire collection and paste each selection into the document. We’ll be using mostly the bottom two layers of fire for this effect.
Fitting the fire – Step 5
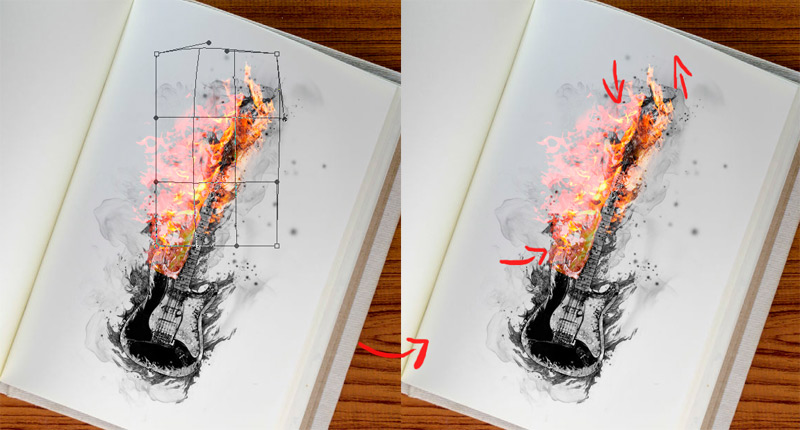
Transform each section of fire so that they mold to the neck of the guitar. Control + T to Resize then select the Warp option to mold the direction of the fire. Try to mold it so it looks like the fire could be burning on top of the paper. Play around with different blend modes for this effect. Lighten and Screen work best to eliminate the black background. Erase any excess to blend jagged edges.
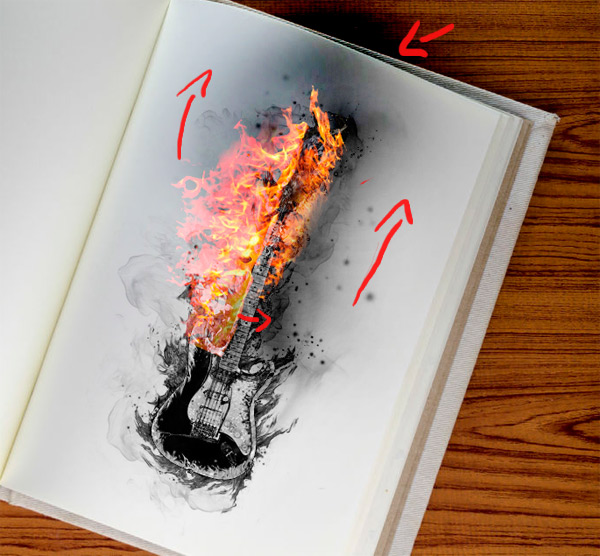
Creating some depth – Step 6
The only way to make this sketch really burn is to create some depth between the fire and paper. Select the sketchbook layer. Use the Burn Tool (O) with the Range set to Highlights, and begin burning on the paper around the neck of the guitar where the fire would be causing the most damage. Avoid the bottom of the sketch so that it’s still very visible to the viewer. Make the burn travel off the top of the page to intensify the effect. Now it looks like the fire is popping from the page!

Time for smoke! – Step 7
On a New layer (Control-Shift-N) grab the Brush Tool (B) and begin painting in smoke using a Soft Round Brush. To make this step easier, feel free to download any smoke brushes you find online. Use a medium color gray as the base of the smoke, and then add some smoke highlights with the color white.
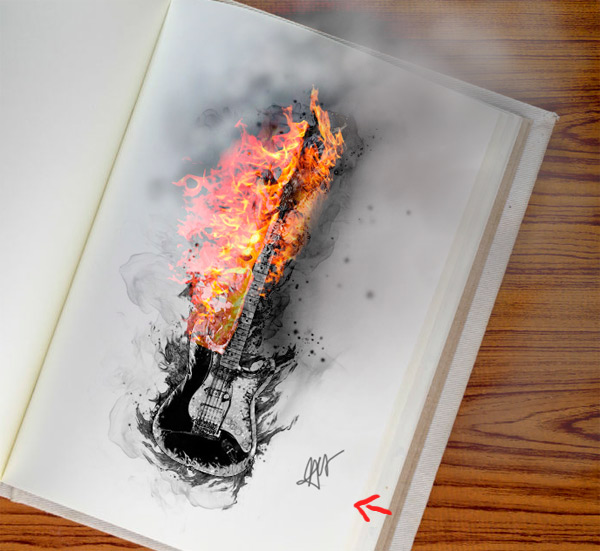
Sign the work : Step 8
What’s a drawing without a signature right? This step is completely optional. A great way to add the impression of a real pencil sketch is to use the Brush Tool (B) to quickly doodle initials for an artist’s signature.
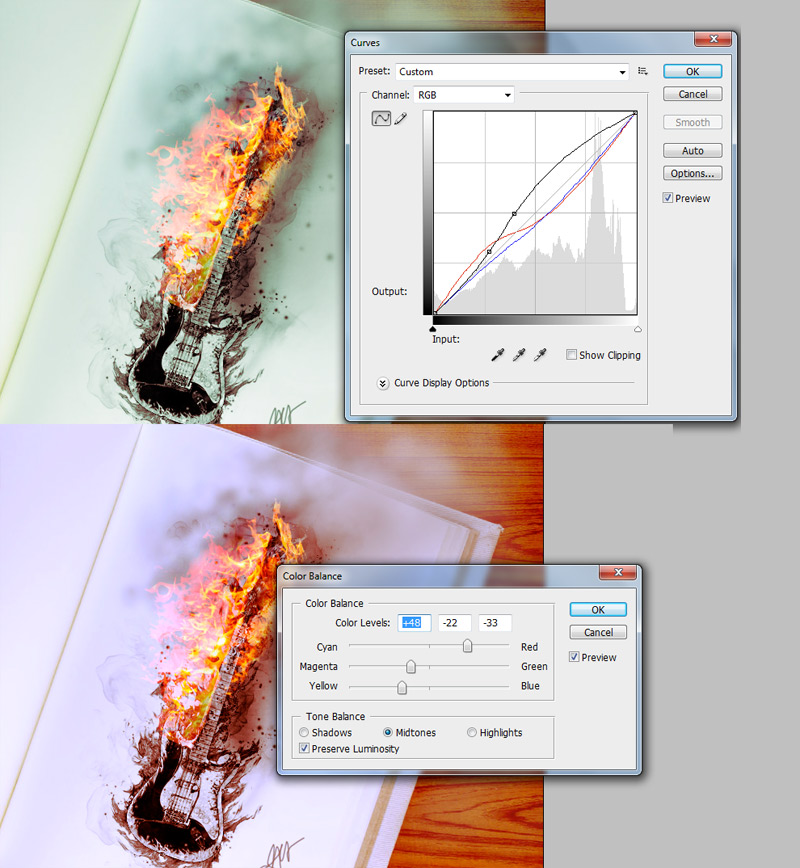
Step 9 – Final Adjustments
Adjustment layers make everything harmonious again!
Go to Layer > New Adjustment Layer > Curves and adjust the RGB, Red, and Blue Channels. Then add another new adjustment layer Layer > New Adjustment Layer > Color Balance. Bringing out the red and yellow Midtones will make the fire pop, and adjusting the Blue Highlights will make the smoke come alive.
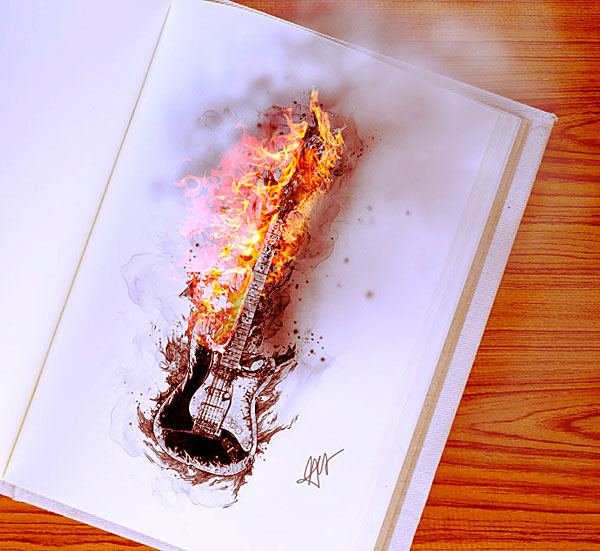
Finish off your fiery masterpiece by cropping the image so that all the focus is on the sketch. And there you have it! Impress all you friends with magic by making unique sketches comes alive! Enjoy!![]()
Special thanks to Annabelle at 123rf for sending in this tutorial. We’ll be seeing more from her in the near future. So as always, if you find a great tutorial or you’d like to submit your own tutorial, just visit our contributions page!
And, thanks for reading
![]()
Don’t forget … we encourage you to share your discoveries with other readers: ![]() Send an email to our editorial staff
Send an email to our editorial staff![]() Contribute your own article
Contribute your own article![]() Join the Design Cafe forums, or
Join the Design Cafe forums, or ![]() Follow DTG on Facebook!
Follow DTG on Facebook!