Here’s an essential Photoshop Tutorial for the beginners or those not so familiar with Photoshop tools and techniques. Thanks to Olga Bogatyrenko of ChasingMoments for sending this one to everyone!
This tutorial, “Photoshop for Starters: Adding Frames and Borders to Your Images in Photoshop” was submitted by Olga Bogatyrenko of www.chasingmoments.com
Olga writes:
 This tutorial offers two basic strategies to add borders to your images. The two strategies represent two distinct logics of achieving the same result: (1) creating a mat above your image and cutting out an opening in it to see the underlying image, or (2) modifying the canvas that underlies your image. The choice of the option depends on the image you have.
If you already have an image that is perfectly cropped and framed and you like it as is – proceed to option 2 below (easiest way to add a border in 2 easy steps). If your image needs some cropping, go ahead with option 1. Of course you can just crop your image and go to option 2!
Option 1: If your subject matter is not too tight for cropping – overlay a "mat" above your image
Step-by-step summary
- Decide on your preferred output size (if you are adding borders for printing) and set the dimensions of your crop toolOR crop down to your favorite composition (for display on the web). Don’t crop too tight as you’d need some extra space for the borders.
- Create a new layer
- Fill the new layer with your preferred border color.
- Keeping the new layer active, make a rectangular selection using the marquee tool and detele it.
- Flatten the image. Voi la.
Sizing and cropping your images
Most of you probably just want to print a 4*6 or a 5*7 or an 8*10 of your favorite photo with some sort of border added to it. What you have to remember is that to make sure that your image prints exactly the way you want it to print, without getting cut off on a side or at the bottom, you must make sure that the photo you got from your camera has the right dimensions for printing. If that is not the case, you will have to crop it down to the right size.
Crop your image

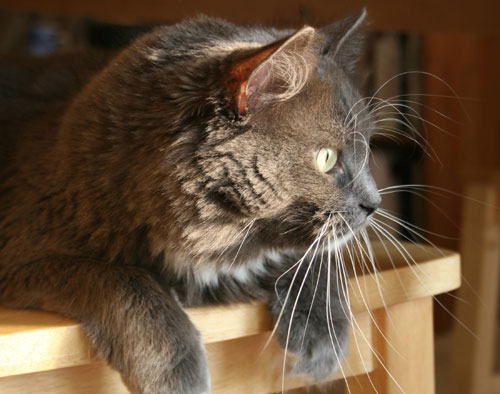
I have this picture of my cat Daisy (above) that I want a 5*7 print of, with a nice border of course. Step one, select the crop tool and set its dimensions to 7 inches for widths and 5 inches for height. Then, start at the corner and drag the crop tool across the picture. You will see that the area that you drag over "opens up" and becomes fully visible. Some parts of the picture will remain shaded – these are the areas that will be cut off after you hit "enter" to make your selection. Experiment with the crop tool until you are happy with your final selection.
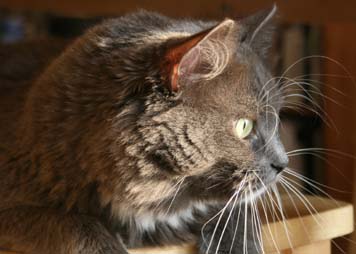
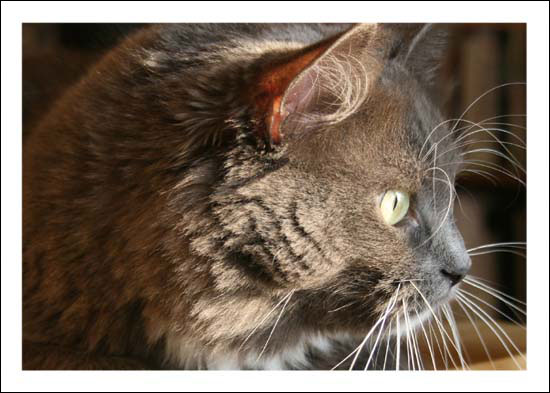
I like a tightly cropped close up of my image to emphasize Daisy’s face and her incredible whiskers:
After you are done cropping, it is time to start adding the border to your image. The steps that we do in photoshop follow the logic of "matting" a picture if you were to frame it for display on your wall: you have a print out of your image and you overlay a mat with a cut-out window above it! That is exactly the effect that photoshop achieves when you create a new layer and "cutout’ a part of it to make the underlying image visible.
Let’s get started.
Start with a new layer
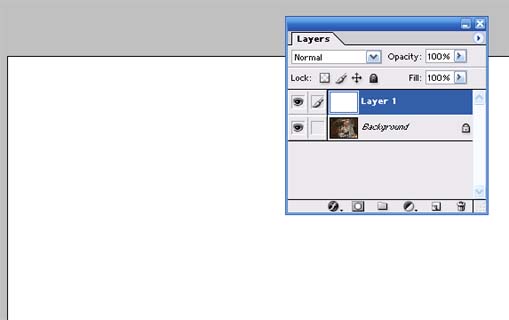
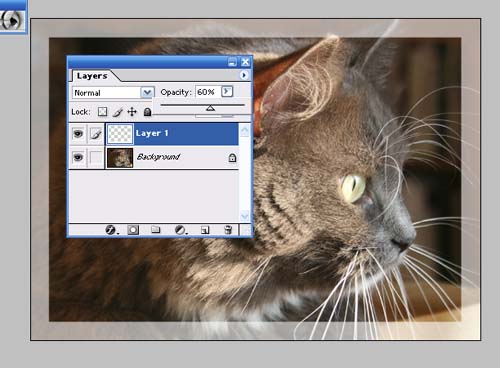
 First you have to make sure that your "layers" window is visible. If it is not, find it in the "window" drop down menu and click on it. A layers window will appear. You will see a thumbnail of your image along with several tools at the bottom.
Create a new layer by clicking on the ‘create a new layer’ icon at the bottom of the "layers" window. A new layer, "above" the layer with your image, will appear (customarily, photoshop will label it "Layer 1", if you prefer, you can change the name of this layer by double-clicking on it in the "layers" window). This is the layer that we are going to fill with our preferred choice of color (think of the color of the mat when framing a picture) and then cut out an opening to show our image.
Fill the new layer with a color of your choice – this will be the color of your frame
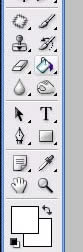
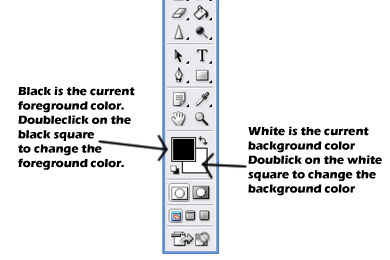
Find the "bucket" tool in the "tools" window and select it. The bucket tool will fill the area that you point it to with the color that is set as the foreground color in the "tools" window (find two squares at the bottom of the "tools window", the top one represents the color of the foreground).
To set the color, double click on it, a palette that allows you to make a color selection will appear, select the color that you would like to use as the color of your frame. I would like to add a white border, so I select white as the foreground color and click "enter" to okay the selection. Then I use the "bucket" tool anywhere on the my image (while making sure that the new layer, "layer 1" remains active – highlighted in blue in the "layers" window) . One click will fill the new layer with the color of your choice. This will be reflected in the "layers" window as you will see that "layer 1" is now all white and that your image remains intact – under it.
Create a cut-out
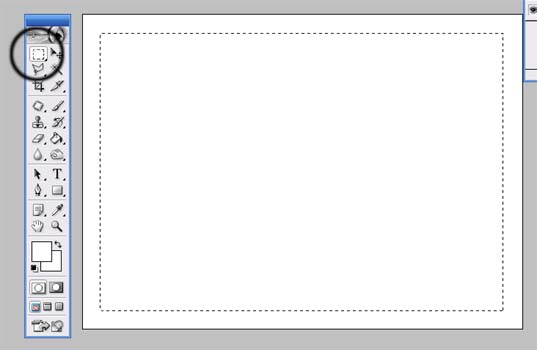
The next step is to create a cut-out, an opening in your "mat" to reveal the image underneath.Using the rectangular marquee tool found in the upper left corner of the "tools" window, make a rectangular selection on the "new layer". Just start at a corner and drag across the image while holding the left mouse button down. you have made a selection when you see it as an outline of "marching ants" on your layer.
Almost done. When you are satisfied with your selection, hit the "delete" key (or CTRL+X). Now, you should see your image with a border around it. For an interesting effect, you can experiment with lowering opacity of the border so that it is a little bit "see through".
After you are satisfied with results, there is just one more step left. Remember, you have two layers – the layer with your image, and the layer with the mat (your frame). You have to merge them together before saving the image. This can be achieved by going to the "layers" dropdown menu and choosing the "flatten the image" option. Alternatively, you can "merge" your mat down onto your image by hitting CTRL+E with your "layer 1" layer active. Now you should have your final image, with the frame. Save it as a different file, remember not to over-write the original file by merely "saving" the file as the effects will be irreversible.
Pros: the pros of this method are that it is easy, simple, fast, you can use solid colors for your frame as well as gradients (instead of using the "bucket" tool, use the "gradient" tool for this), or you can even create a border by over-laying an entirely different image and using it as a frame.
Cons: if you do not have enough "cropping area", say you have taken a tightly framed portrait and it leaves no space for a frame, you will end up cutting off important parts of the portrait. Of course, photoshop has a solution for that, and I will show you how to deal with this situation in my next tutorial.
Next: try option #2
Option 2: Expand area of the underlying canvas (overlay the image above the background you like)
Step-by-step summary
- Select your preferred border color as the "background" color
- Expand the area of the canvas by a desired amount (crop, if necessary, to your liking)
Setting border color as the background color
As you mind have noticed, this approach to creating borders is only three steps. It is the easiest way to add a monotone border to your image ifyou do not need or want to make any changes to the composition of your image and if it is already framed or cropped to your liking.
The first step here is to set the background color to the color of your choice. The "background" color is represented by the "background’ color square in the tools window. Just doublick on it (when you hover over it, a "set background color" notice may appear) and choose whatever color you like. For the purpose of this tutorial, I will make the background color light green (as I want my border to be white).

Expanding the canvas area and cropping
The next step is to expand the canvas that is underlying our image. To do that, go to Image –> Canvas size, a window will pop up that will allow you to set the desired size of your border. Pay attention to the unit of measurement (in my cases, it is inche). The numbers that you will see in the "canvas size" window represent current dimensions of this image.
Say, I want to add a 1/4 inch border to my image. I will just add 0.25 to the existing numbers: so, for width, I will enter 1.495(1.245+-.25) and for height I will enter 1.138 (0.888+0.25). Feel free to experiment with the "canvas size" option (for example, you can only change the width size, in which case you will only add borders on the sides of the image, or you can add a small border on top and on the bottom of the image, and add a wider border on the sides).

Hit okay once you are happy with your selection.
You are done! Save your file with a new name (so as not to overwrite the original). If you want to crop the image, use the "crop" tool in the tools window, or, for more detailed instructions check out "step 1" in "option 1" of this tutorial.
Well, here’s what I got: picture of Daisy with a light green border, not too bad at all.
Special thanks to Olga Bogatyrenko for sending in this Photoshop tutorial How to add borders to images. Olga operates Chasing Moments web site at www.chasingmoments.com